Getting started with Email
With all Create A Shoppe plans you have the ability to create you@yourdomain.com email addresses. If your domain/website address is “example.com” you could have many different email accounts such as “store@example.com“, “sales@example.com“, etc. Anytime you want to create a new email address you can do so in cPanel.
Create an Email account
The very first step required for using the email service included with your Create A Shoppe hosting is to create the email account in your cPanel. Login information for your cpanel is included in the welcome email you received when you signed up for Create A Shoppe.
- Login to Cpanel
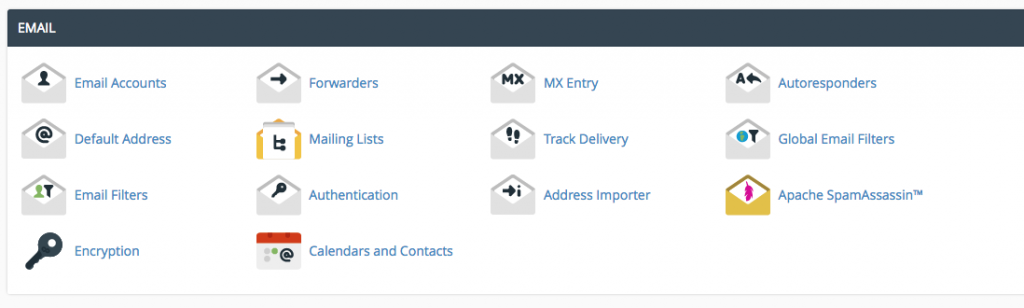
- Once logged into cpanel, click on the “Email Accounts” located in the EMail section of cPanel
- This will open a screen so you can create a new email address. You should see the below screenshot.
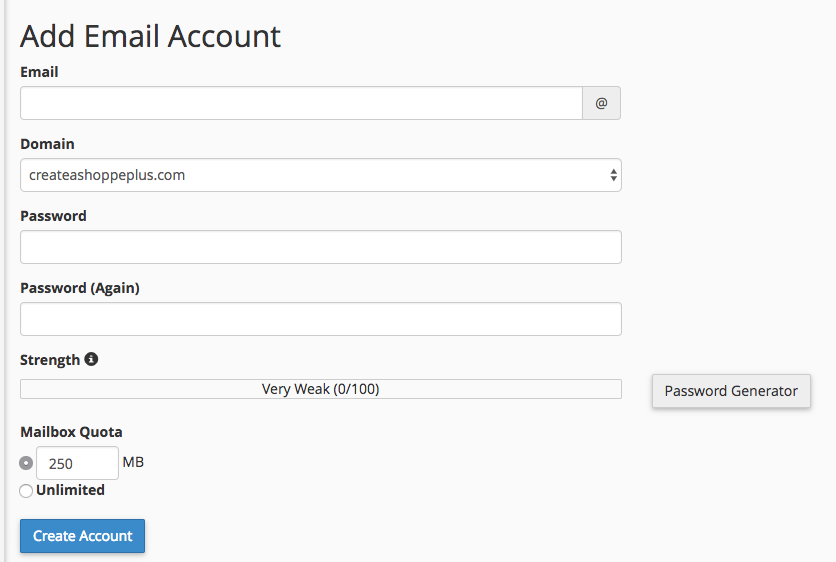
Fill in the fields:Email: This is the name of the account. This will be what comes before the @ symbol in the email address. For example you might use sale. In that case your email would be sales@yourdomain.com <– yourdomain.com being your actual domain/website address. Password: This is the password you assign to the email account. Password (again): Re-type the password Mailbox Quota: Select the size of the mailbox you want to create. We recommend choosing Unlimited to be sure you do not miss emails due to going over the quota. - After entering your information, click the button labeled “Create Account“
- After the account has been created, you will see it listed in the Email Accounts section.
Accessing your Email
Many different programs can be used to access your email. You can use a Desktop Program like Outlook, Mac mail, or Thunderbird. You can use the browser based programs Squirrel Mail, Horde, or Round Cube to check from any location using your web browser. You can also use your Ipad, iPhone, Droid, or other mobile device.
Configuring a desktop email client
Common email clients that most users are familiar with include Microsoft Outlook and Mac Mail. You can use any program you want as long as is it can connect to our servers. Below are links to our tutorials for setting up email clients.
Basic Email Settings
While each mail client is different in its layout and verbiage, there is still a basic set of information that the email client will need. Below is how to get your email settings.
SSL email settings
Below is an example of the recommended Secure settings. The SSL (Secure Sockets Layer) protocol is for connecting to your server securely to prevent network “snoopers” from seeing your data over the network connection.
- Incoming Server: mail.example.com
- Outgoing Server: mail.example.com
- Username: Your full e-mail address
- Password: Your e-mail account password
- Incoming Port: POP3 110 or IMAP 143
- Outgoing Mail server (SMTP) Port: 587
- SSL: YES
- SMTP Authentication Required
- Secure Authentication or SPA needs to be turned ON (Choose Username and Password for Authentication and enter your email address and password)
Non SSL email settings
The following settings are the non Secure settings. Use this only if you cannot use the SSL settings. Otherwise, you will want to use the SSL setup. Note that you will need to change “example.com” to your domain name.
- Incoming Server: mail.example.com
- Outgoing Server: mail.example.com
- Username: Your full e-mail address
- Password: Your e-mail account password
- Incoming Port: POP3 995 or IMAP 993
- Outgoing Mail server (SMTP) Port: 465
- SSL: NO
- SMTP Authentication Required
- Secure Authentication or SPA needs to be turned off
Accessing your email through Webmail
Webmail allows you to check your email from within your browser, such as Internet Explorer, Google Chrome, Mozilla FireFox, or Safari. A big advantage to using Webmail is that you don’t need to configure any settings. You can simply log into webmail and begin using it. Another advantage is that your information is stored on the server so it can be accessed from any computer you’re logging in from.
To login to webmail from any browser or device tack /webmail to the end of your domain. For example: www.yourdomain.com/webmail When prompted enter your full email address: you@youraddress.com and the password you chose when you created the email account.
You can then choose Horde, Roundcube or Squirrel Mail. Which one you use is just a matter of preference so we recommend that you try each one and pick the one that you like best.
Configuring your mobile device
You can also setup your mobile phone or other mobile device to connect to your email account(s).
Setup email on your iphone or ipad:
1. Go to: Settings > Accounts and Passwords > Add Account .
2. Choose Other
3. Choose Add Mail Account.
4. For Name enter whatever you want displayed when you reply to someone. (if this is a business email then your business name would work fine here)
5. For Email enter your new email account you created in cpanel (EX: you@yourdomain.com)
6. Enter the password you chose when you setup the email account in cpanel.
7. Description is optional.
8. Hit NEXT
9. You will then see IMAP and POP tabs select the POP tab.
10. For incoming mail server hostname enter mail.yourdomain.com ( replacing yourdomain with your actual domain) No www or http etc. and NOT our domain.
11. Incoming Username is your complete email address (you@yourdomain.com) and the password you chose when you setup the email account in cpanel.
12. For the Outgoing mailserver hostname enter mail.yourdomain.com (replacing yourdomain with your actual domain) No www or http etc.
13. Outgoing Username is your complete email address (you@yourdomain.com) and the password you chose when you setup the email account in cpanel.
14. Hit Save and your phone will test the account.
You may receive a “Cannot Verify Server Identity” security warning a couple of times. Just tap continue and your new account will be ready to use.
Troubleshooting email problems
Email using up your hosting storage space
If your email account keeps storing mail and using up all of your hosting storage space you may need to adjust settings in Outook:
This solution works for Microsoft Outlook 98 and 2000 which utilize Outlook Express and current versions. Outlook 97 did not offer a feature for saving mail on the server. This also works for Outlook for Mac. (the steps and terminology below may vary depending on your version of Outlook)
- Open Outlook
- Click “Tools” in the menu bar, at the top
- Select “Account”s from the drop-down menu
- Click the “Mail” tab at the top
- Highlight your e-mail account
- Click “Properties” to the left
- Click the “Advanced” tab at the top
- Under Delivery remove the check from “Leave a copy of messages on the server”
- Click “OK”
- Click “Close”.
**NOTE: This will work for all future emails but if your storage space is currently full you will need to login to cpanel and into mail and clear out the exising emails. If you receive an error while trying to clear the messages please submit a help ticket and we can clear them for you.
For problems sending or receiving emails please submit a support ticket.