Menus
Main Menu
Drag and drop makes creating and organizing your store’s main navigation menu (often the horizontal menu below your logo) quick and easy.
This customization shows how to add and remove from the menu.
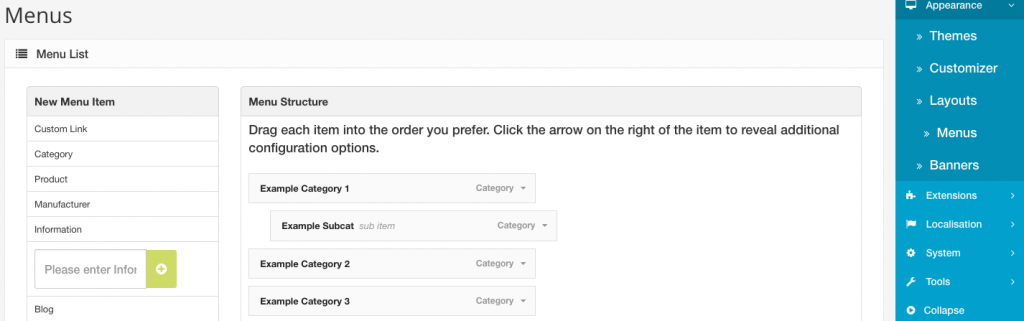
Click Appearance then Menus
Add a menu item
On the menu page you can drag a menu item from the left to the Menu Structure box and it will automatically be added to your main store menu. If you want a menu item to display in a drop down menu below a main item drag it and drop it slightly to the right below the main item. The indented box is indication it has been set as a secondary item/ subcategory and it will display in a drop down menu below your main menu on your store.
- Click a New Menu Item
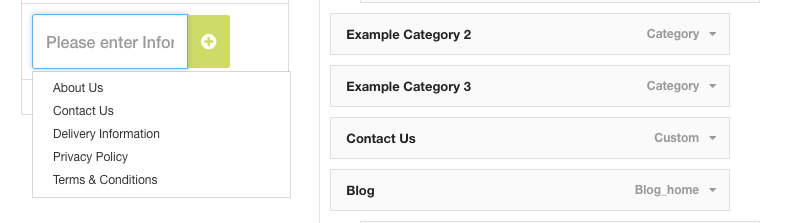
- Start typing the name of the page, category or other menu item you’d like to add in the box where it says Please enter information,
- When the item pops up select it
- Click the Green + Button
- The item now appears under Menu Structure and you can drag it to place it in order
(example: if you are adding an information page you would click Information and then start typing the page title in the box, when it pops up select it and click the green + button. It will then appear to the right under the other menu items. There you can drag it to place it in the order you’d like)
Remove a menu item
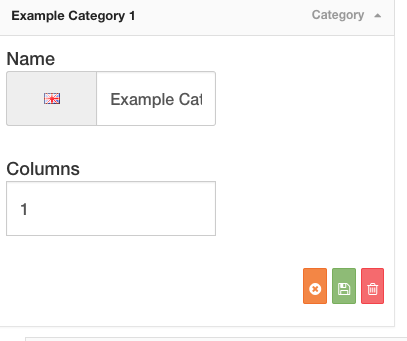
To remove a menu item click the down arrow next to item then click the red trash can icon.
You do not need to save. Menu changes are automatically applied to your store.