Social Media
Create A Shoppe offers various customizations that you can make to integrate social media with your online store.
Social Media Icons
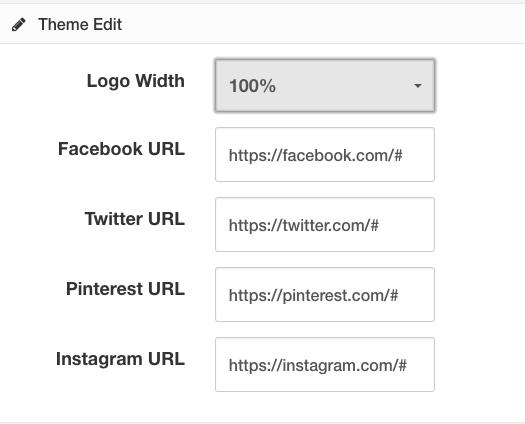
Connecting the Social media icons shown on your website in the header or footer of your pages to your accounts is very easy.![]()
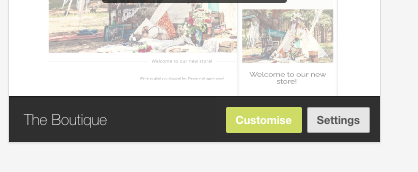
- Click Appearance then Themes ( The very first theme is the theme your store is currently using )
- Click the Settings button on the theme
- Enter the full url to the social media accounts you would like displayed.
- Delete urls from any account boxes you won’t be using and don’t want displayed. ( For example if you do not use Instagram delete the address in the box and the instagram icon will not be shown on your store )
- Save your changes
Social Media Share buttons
Visitors to your store can easily share your products to their Facebook, Instagram, or Pinterest account or they can Email the item(s) to a friend.
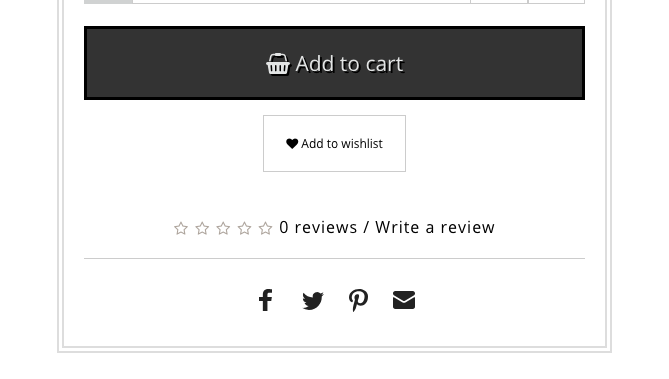
Social media share buttons require no configuring on your part and are included on every Create A Shoppe Theme.
Facebook Store
Facebook is one of the most popular social channels with millions of people interacting daily. Create A Shoppe’s built in Facebook Store helps you turn those people into customers by publishing your products easily onto your Facebook page. When your visitors click a product or category, they will be redirected to your site’s relative page where they can complete their order.
Real-time updates
When you make changes to your products or add new products in Create A Shoppe; everything is updated in real-time in your Facebook store.
Before you begin
To create a Facebook Store with Create A Shoppe you’ll first need to make sure that: You have a business page created on Facebook and that You have created a Facebook App.
To create a Facebook page: Visit the Facebook Page Creation section.
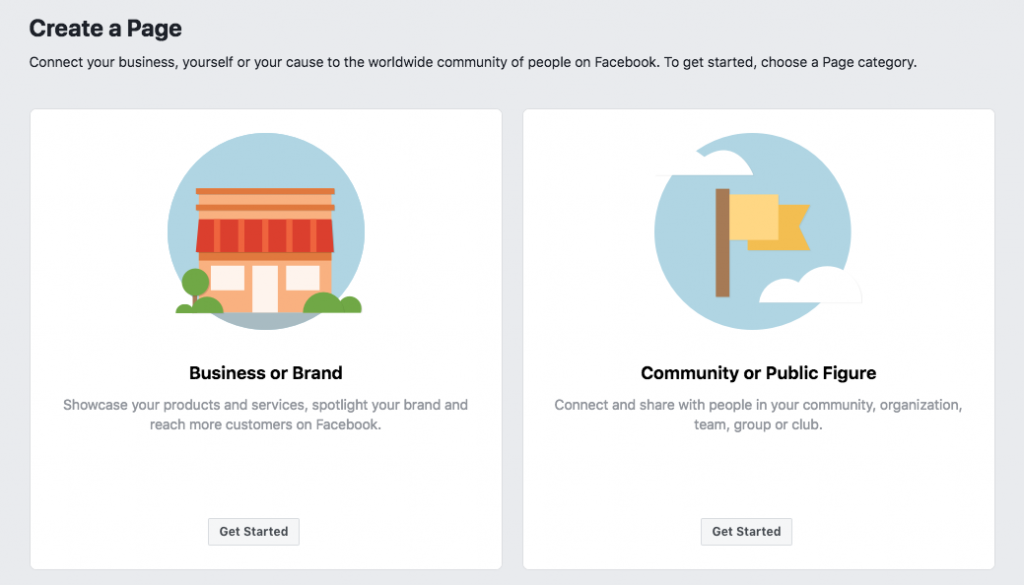
- Choose a Page category.
- Choose a subcategory and enter the required information.
- Click Get Started to accept the Facebook Pages Terms and continue.
- (Optional) Complete the page set up by offering more information to Facebook
To create a Facebook App: Visit the Facebook App Creation section.
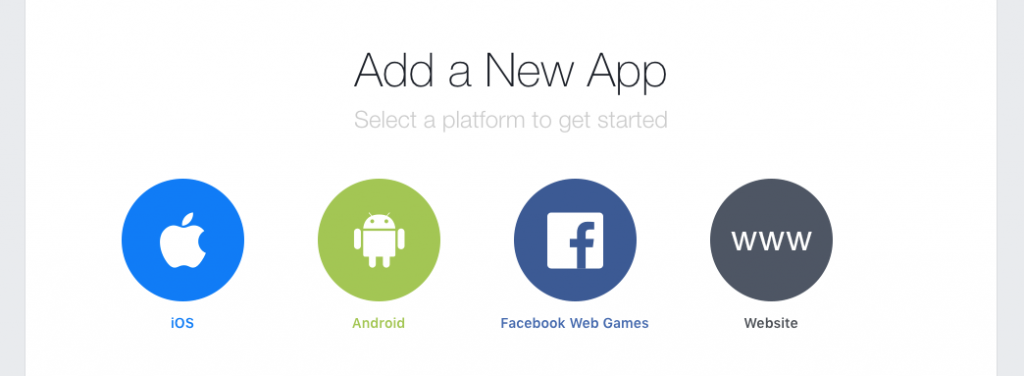
- Choose a platform ( in this case: Website ) to get started.
- Create a New App ID or use an existing one.
- You will be redirected to the Dashboard of the Facebook App.
- Take note of your APP id and App Secret
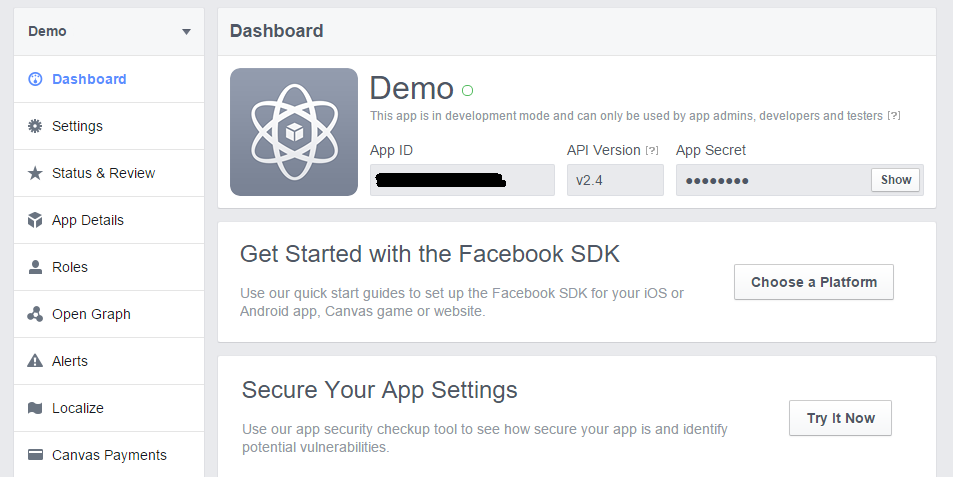
Add the Facebook Store
Once your Facebook Page and App registration is complete, you can easily create a Facebook Store using the Create A Shoppe Facebook Store feature.
- Visit the Facebook Store page located in your Admin. Click Extensions, then View All.
- Select type “Feeds“, then click on “Filter” button

- Click the Edit button for Facebook Store

- Add the Facebook App ID that you got from the Dashboard of the Facebook App.
- Customize the view of your store, like Currency, Language, Category, Product Description, Product Price and more.
- Set Status to YES
- Copy the “Generated Code” to Facebook.
- Click the Items tab and choose the modules and products you want to show on Facebook Store.
- Save your changes.