Newsletter Settings
The Settings area of the Newsletter feature is where you can turn on the newsletter system for your store, manage where you’d like to display your subscribe form, and how you’d like the form or popup to look.
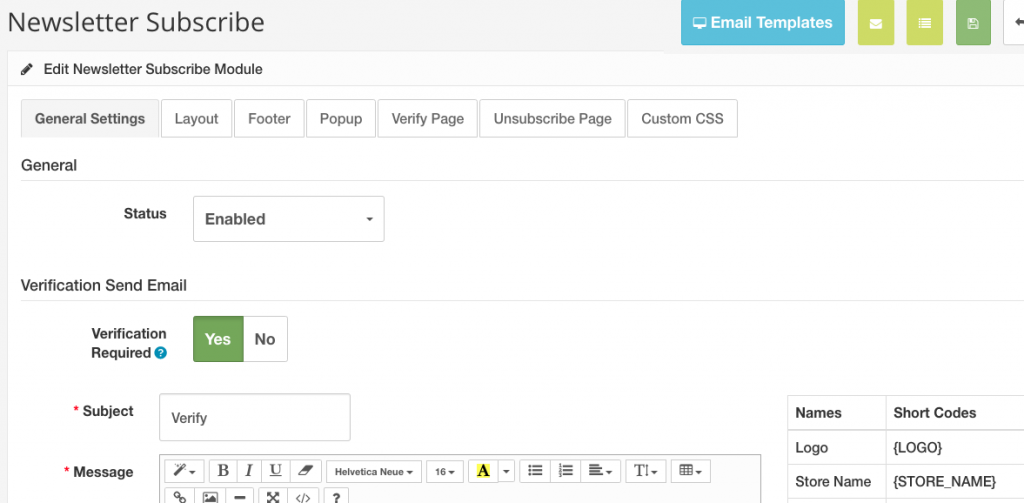
Tab: General Settings
Status: Set to enable to turn the newsletter system on in your store.
Verification: Choose if you want your subscribers to verify their subscription to your newsletter
- Set Verification to Yes or No (if you do choose no, save your changes and nothing more is required under this tab)
- If Verification is Yes enter a Subject this is the subject line the subscriber will see when they receive their verification email. (Please verify your subscription is a common subject line)
- Message: The message box is what the subscriber will receive in the verification email instructing them what to do next.
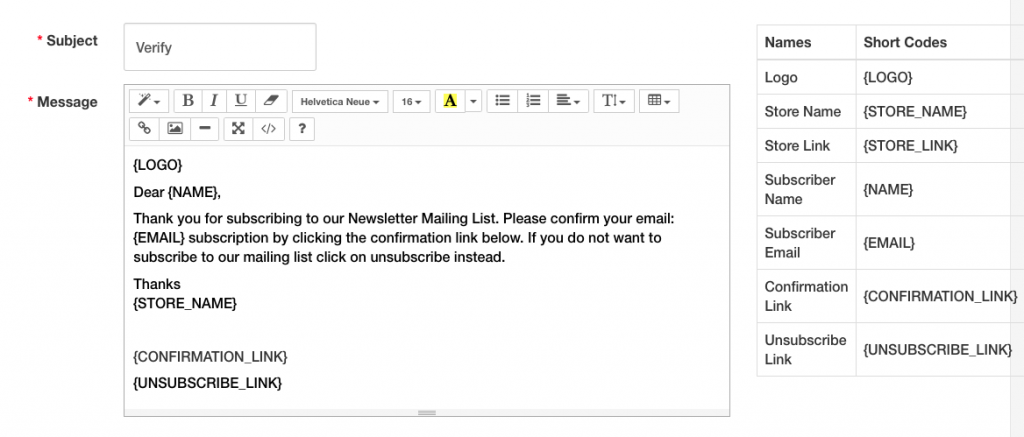 Create A Shoppe’s newsletter system makes it quick and easy to include important information in your emails and email templates using Short Codes. Short codes pull the subscriber information and customize your email to each subscriber automatically. Available Short codes are displayed in the newsletter settings, in your admin area, as seen in the screenshot above.
Tab: Layout
If you want to display a form on your pages that allow visitors to subscribe to your mailing list follow these steps.
- To show a subscribe form on the top or bottom of your pages or in the left or right hand columns set Layout Status to Enabled.
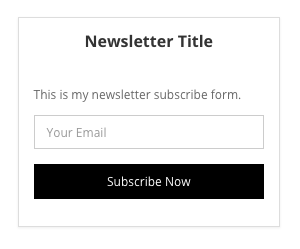
- Display Title: To display a title above your subscribe form set this to Yes. Otherwise set to No to hide the title.
- Display Name: If you want the option for a visitor to enter their name when subscribing to your mailing list set to Yes. To require that the subscriber enter their name set to Yes & Required. To collect their email address only set to No.
- Title: This is the title that will display if you turn Display Title on in step 2.
- Description: A description can be something like: “Sign up today and get 10% off your order” or “Join Our Tribe” or similar. In the screenshot above the description is the text “This is my newsletter subscribe form”. if you do not want a description leave this box blank.
- Success Message: The success message it was is displayed after a visitor has successfully entered their info. An example Success message might be: “Thanks for Subscribing to our newsletter”.
- Name: If you are collecting names along with email addresses enter what you would like to see on the form box where the visitor enters their name. (In the example below we entered: Your Name)
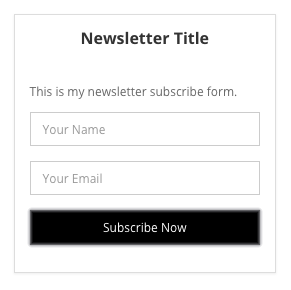
- Email: Enter the text you’d like in the form box where they visitor enters their email address. (In the example above we used: Your Email)
- Button: Choose what you would like the subscribe button to say. EX: Subscribe Now, Join Today, Join, Subscribe, etc.
- Save your changes and you are ready to add the form to the pages of your store
To add the form (Newsletter Subscribe) to a page or pages on your site go to Appearance > Page Layouts Follow the instructions shown here for adding modules to your pages.
Tab: Footer
The option to add a subscribe form to the footer of your store is a new feature we are working on and it is not available just yet.
Tab: Popup
Create A Shoppe’s newsletter system helps you create a beautiful popup window to entice your visitors to subscribe to your mailing list.
- To use the Popup feature set to Enabled
- Add your logo or another photo or graphic of your choice
- Upload a background image (this can be a pattern, photo, color block, etc.)
- Display Title: To display a title above your subscribe form set this to Yes. Otherwise set to No to hide the title.
- Display Name: If you want the option for a visitor to enter their name when subscribing to your mailing list set to Yes. To require that the subscriber enter their name set to Yes & Required. To collect their email address only set to No.
- Re-open Popup: If a visitor closes out the pop up window without subscribing to your list you can choose to have it re-open.
- Add Minutes: Set the numbers of minutes before the Pop up re-opens after the visitor closes it out. Enter only numbers. A suggested time is 1 minute.
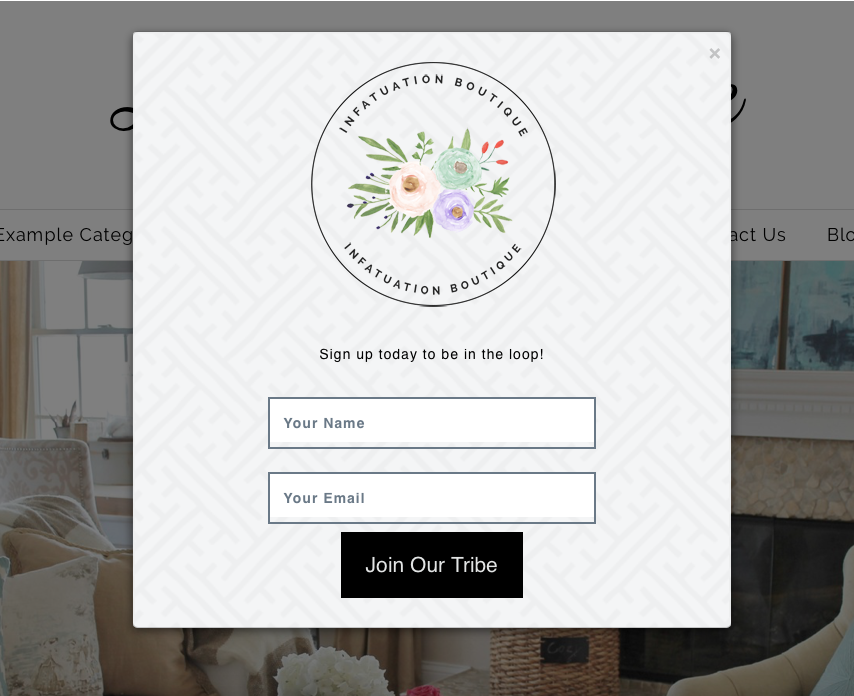
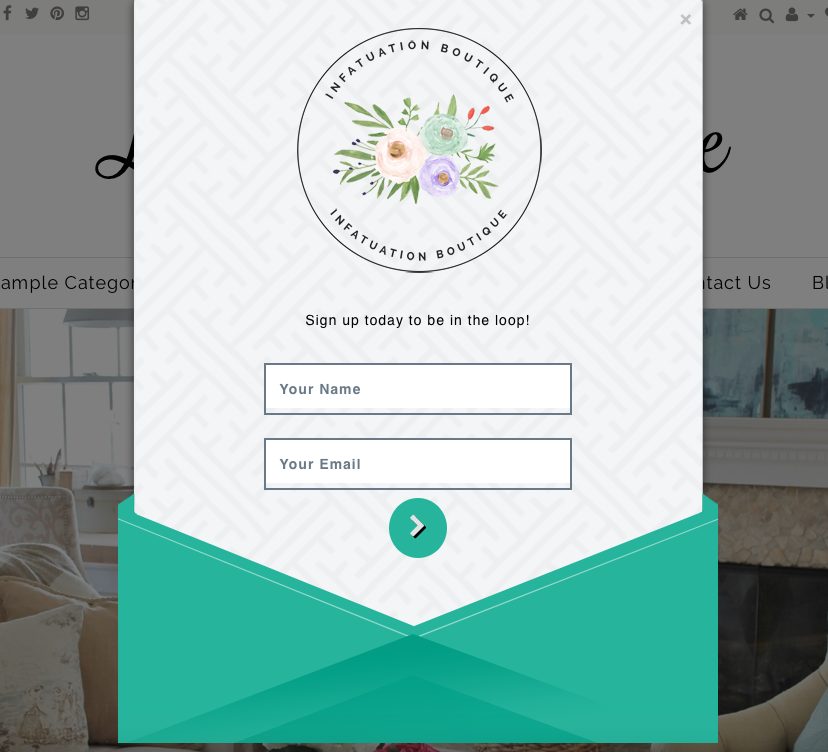
- Select Popup Type: Choose a Normal Popup that displays like the example above or an Envelope Popup like the example below
- Title: This is the title that will display if you turn Display Title on in step 4.
- Description: A description can be something like: “Sign up today and get 10% off your order” or “Join Our Tribe” or similar. In the screenshot above the description is the text “Sign up today to be in the loop!”. if you do not want a description leave this box blank.
- Success Message: The success message it was is displayed after a visitor has successfully entered their info. An example Success message might be: “Thanks for Subscribing to our newsletter”.
- Name: If you are collecting names along with email addresses enter what you would like to see on the form box where the visitor enters their name. (In the example above we entered: Your Name)
- Email: Enter the text you’d like in the form box where they visitor enters their email address. (In the example above we used: Your Email)
- Button: Choose what you would like the subscribe button to say. EX: Subscribe Now, Join Today, Join, Subscribe, etc. (if you choose the envelope popup this text will not display. Instead an arrow button like above will be used)
- Save your changes and you are ready to view your site and see your new Popup form.
Tab: Verify Page
If you set Verification Required to Yes under general settings then you’ll need to customize a few things to make sure your Verification page is looking and operating how you’d like.
- Display Title: Choose if you would like to display a title above the description on the Verify page or not.
- Display Description: Choose if you would like a description to appear on the page or not.
- Display Logo: If you want your store logo to appear on the verify page or not.
- Display Decline Button: If you want to allow your subscribers to decline their subscription set this to yes. If you want to hide the decline button set to no.
- Title: This is the title that will display if you turn Display Title on in step 1.
- Description: A description can be something like: “Welcome to club”
- Verify Success Message: This is the message shown after the subscriber confirms their subscription.
- Decline Success Message: This is the message shown if a subscriber decides to decline verifying.
- Invalid Message: If a subscriber waits too long to verify their email and the link expires this is the message that will be shown.
- Confirm Button: Choose what you would like the confirm button to say. EX: Confirm your subscription
- Decline Button: Choose what you would like the decline button to say. EX: Decline your subscription
- Save your changes and your page is ready for subscribers.

Tab: Unsubscribe Page
Create an Unsubscribe page that collects some info from the subscriber as to why they are leaving, let them know your sad to see them go, give them a special offer to stay or just say “So long”.
Unsubscribe Reason List
With the unsubscribe reason list you can create a short survey asking the subscribers why they are leaving so you can improve and learn ways retain more subscribers. This feature is optional and you can choose not to survey the subscriber.
- Click the yellow plus button to add a reason
- In the title box enter the reason. EX: To many newsletters, not enough newsletters, not many specials, no reason, etc.
- Repeat the steps for each reason
Next choose how you would like the page displayed
- Display Title: Choose if you would like to display a title above the description on the page or not.
- Display Description: Choose if you would like a description to appear on the page or not.
- Display Logo: If you want your store logo to appear on the page or not.
- Title: This is the title that will display if you turn Display Title on in step 1.
- Description: A description can be something like: “Sorry to see you go”
- Unsubscribe Success Message: This is the message shown when someone unsubscribes
- Invalid Message: If a subscriber waits too long to unsubscribe their email and the link expires this is the message that will be shown.
- Submit Button: The text you want to display on the unsubscribe button
- Save your changes and your page is ready
Tab: Custom CSS
This is an advanced feature. You should have a good understanding of CSS before making changes in this area. If you have some CSS knowledge the newsletter system can be customized completely. With CSS you can control the button colors, form fields, window size of pop ups and much, much more.
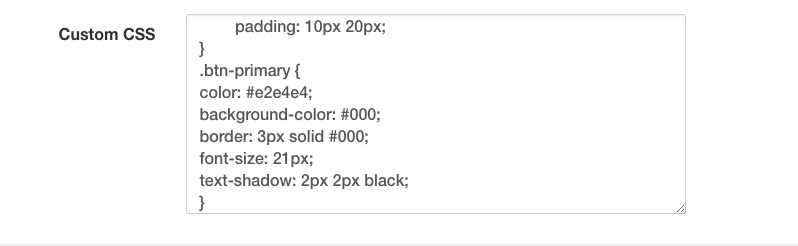
For Google Chromes users familiar with CSS, right click on the element you’d like to change and click Inspect. Copy the CSS block under Styles that applies and paste it into the custom css box and make your changes. If you run into problems remove the custom CSS and save your changes and try again. If you need help please let us know.